Kali Linux 2: Discovering Networks using Airodump-ng

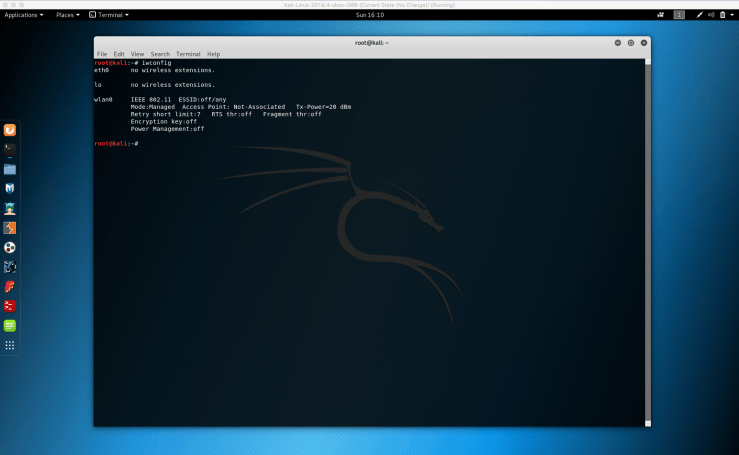
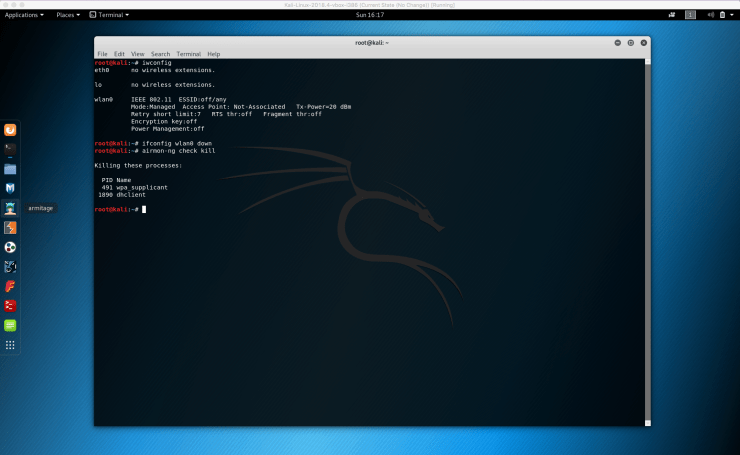
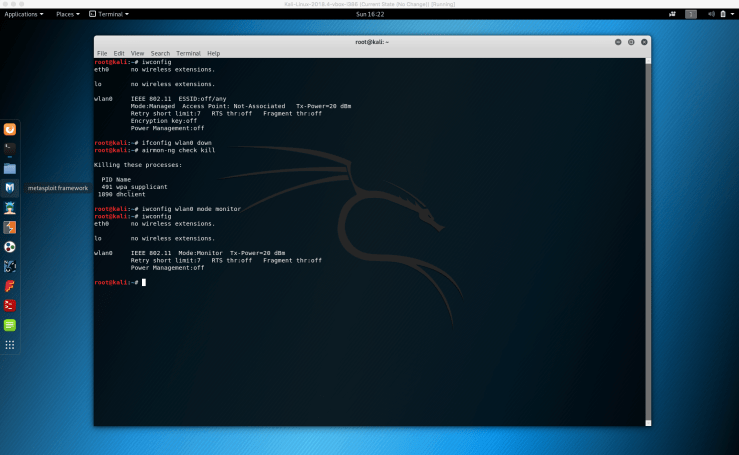
Before we can initiate any packet sniffing operations or even discovering networks we have to first change the wireless mode from “managed” to “monitor.” This is a very easy procedure which is given below.

Changing Wireless Modes

iwconfig.png
1. First step here is to type “iwconfig”. This will show us the mode of the wireless devices we have.
wlan0 down.png
2. The next step in this procedure, is to take our “wlan0” down. For that we type, “ifconfig wlan0 down”.
airmon-ng down.png
3. Over here, we type “airmon-ng check kill”. This is important since before we proceed to change the mode, we need to kill the processes that might interfere with using the interface in monitor mode.
iwconfig wlan0 monitor mode
4. To change the mode, we went ahead and typed in “iwconfig wlan0 mode monitor”. Now to double check our wireless mode, we can go ahead and type in “iwconfig” once again to see the mode which has in fact changed to “Monitor”.

Discovering Nearby Networks


airodump-ng wlan0.png
5. Okay. So now that we’ve went ahead and changed the wireless mode from “managed” to “monitor” the next step in actually discovering our nearby networks is to specify in the terminal we are using “airodump-ng” for this procedure. We type, “airodump-ng wlan0”. The reason we wrote “wlan0” after the airodump-ng is because we need to specify which wireless interface we’re using.
airodump-ng wlan0 networks shown.png
6. After pressing enter on “airodump-ng wlan0” we see the command being excuted. We begin to see all the wireless networks around us and along with that we can see useful information about each one. This will continue to run unless we quit this program. To end this program we’ll go ahead and hit Control+C.

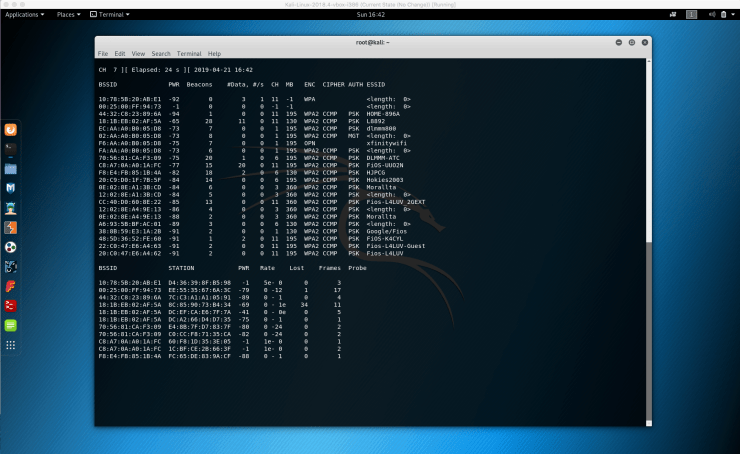
I want to explain the various pieces of information we’re being shown. These are all critical pieces of information we need to be able to read before we can delve deeper into more advanced procedures.

ESSID: This should seem familiar. We can see all the networks that are in range. This will become more useful for later operations.

BSSID: This shows the MAC address of the target network.

PwR: This is the signal strength or power of the network. The higher the number, the better the signal.

Beacons: These are frames sent by the network in order to broadcast its existence. Every network, even hidden always sends these type of frames.

#Data: This is the number of data packets or data frames. These are the useful packets that will be more useful in actual cracking.

#/S: Represents the number of data packets collected in the last 10 seconds.

CH: This is the channel which the network works on.

MB: MB is the maximum speed supported by the network.

ENC: This is the encryption and this is very important. We find out the encryption method being used by the network.

CIPHER: This is showing the cipher being used in the network.

AUTH: This is the authentication used on the network. PSK indicates pre-shared key.


search previous next tag category expand menu location phone mail time cart zoom edit close